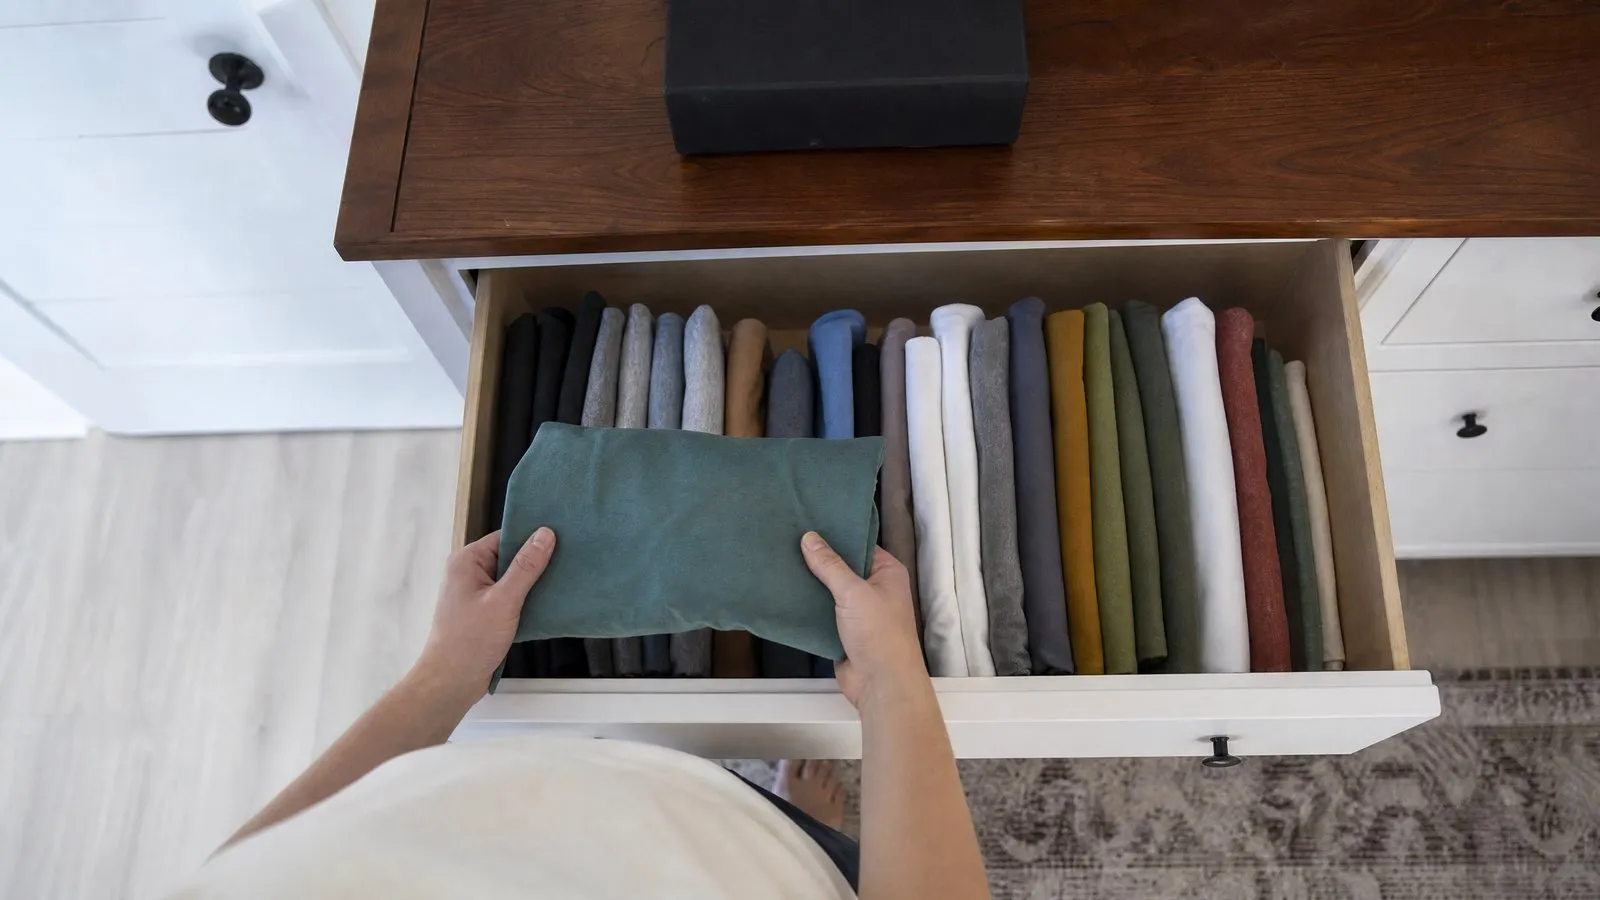
How to Organize Kitchen Cabinets and Pantry
Organize kitchen cabinets and a pantry in an afternoon: empty, group, zone by use, add risers and turntables, label containers, and keep it tidy.
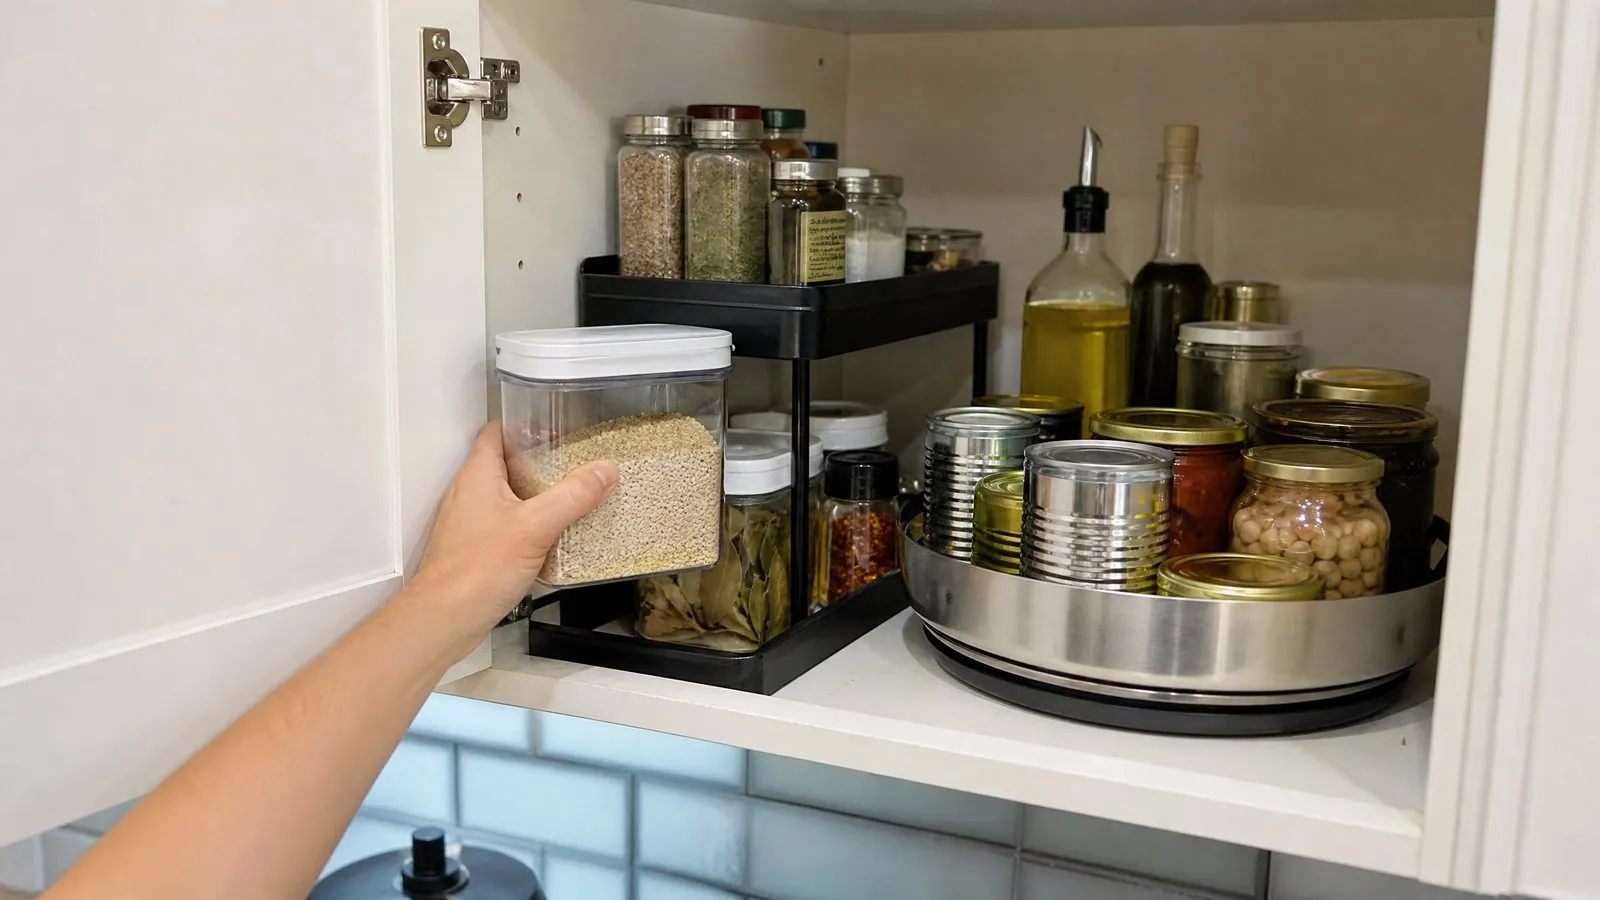
To organize your kitchen cabinets and pantry, empty everything out, group like items together, then put things back in zones based on how often you use them. Add risers and turntables so nothing hides at the back, move loose packets into clear containers with labels, and check expiry dates as you go. A full kitchen takes about 2 to 4 hours; a single cabinet takes 15 to 30 minutes.
You don’t need to buy a matching set of bins to make this work. Start with what you have, fix the biggest frustration first, and add storage pieces only where they solve a real problem.
Start with one cabinet, not the whole kitchen
If the thought of emptying every cabinet makes you want to close the door and walk away, don’t do it all at once. Pick the cabinet that annoys you most — usually the one where things fall out or you can’t find anything. Fixing one shelf in 20 minutes gives you a quick win and shows you what approach works before you commit to the whole room.
If you do have a free afternoon, tackle the kitchen in sections: upper cabinets, lower cabinets, then the pantry. Finish each section before moving on so your counters never become a dumping ground you can’t cook around.
Set out a few supplies first:
- A damp cloth and your usual all-purpose cleaner
- A trash bag and a bag or box for donations
- Sticky notes or a marker for quick labels
- A flat surface (table or clear counter) to sort onto
Step 1: Empty and wipe (10–20 minutes per section)
Take everything out of the section you’re working on. Yes, everything — you can’t judge what you own or reach the back corners until the shelf is bare.
As the shelf empties, wipe it down. Cabinets collect crumbs, sticky rings from bottles, and dust at the back. A damp cloth with a little dish soap handles most of it. For the deeper routine, see our guide on how to clean a kitchen properly.
Line shelves only if you want to — a wipeable liner protects wood from spills and makes future cleanups faster, but it’s optional. Skip adhesive liners in rentals; they can peel paint when you leave.
Step 2: Group like items and check dates
Sort everything into groups on your table: canned goods, pasta and grains, baking supplies, snacks, oils and vinegars, spices, mugs, plates, and so on. Grouping shows you the truth — like discovering you own four open bags of flour or six half-empty spice jars.
While you sort, check dates and quality. A few guidelines based on general food-safety advice:
- “Best by” and “best before” dates are about quality, not safety. Many dry pantry staples are fine well past them, though flavor and texture fade.
- “Use by” dates on perishable or refrigerated items are the ones to take seriously.
- Toss anything with bulging cans, rust, leaks, off smells, or signs of pantry pests (webbing, tiny holes, or moths in flour, grains, or cereal).
- Spices don’t spoil dangerously, but ground spices lose punch after 1 to 3 years. If it smells like nothing, it’s doing nothing.
When in doubt about a food’s safety, throw it out. If you’re ever unsure whether something is safe to eat, guidance from food-safety authorities is simple: when in doubt, throw it out.
If decluttering feels overwhelming once everything is on the table, our guide on how to declutter when you’re overwhelmed has a calmer way in.
Step 3: Set up zones by how you use things
This is the step that actually keeps a kitchen organized: store things where you use them, and put the things you reach for daily at the front and at eye level.
Think in zones:
| Zone | What goes there | Where to put it |
|---|---|---|
| Daily use | Plates, bowls, mugs, everyday glasses | Easiest cabinet, eye to waist height |
| Cooking | Oils, salt, spices, pots and pans | Near the stove |
| Prep | Cutting boards, mixing bowls, knives | Near your main counter |
| Coffee and tea | Mugs, kettle, filters, sugar | One shelf, all together |
| Baking | Flour, sugar, tins, measuring cups | Lower or less-reached cabinet |
| Backup stock | Extra cans, bulk packs, rarely-used gadgets | Highest shelves or deepest corners |
Put heavy items (stockpots, bulk cans, small appliances) in lower cabinets so you’re not lifting weight overhead. Reserve high shelves for light, rarely used things. If children are in the home, keep anything breakable or hazardous out of their reach and store cleaning products well away from food — see how to store cleaning supplies safely with young children.
Step 4: Add risers and turntables where things hide
The two cheapest tools that make the biggest difference are shelf risers and turntables (lazy Susans). They solve the universal cabinet problem: stuff at the back disappears.
Shelf risers are little stands that create a second level, so the cans or plates behind the front row sit higher and stay visible. Use them for:
- Canned goods, so you can read every label
- Spice jars, stepped so you see the back row
- Mugs and short glasses to double up vertical space
Turntables spin, so you reach the back without unloading the front. They’re ideal for:
- Oils, vinegars, and sauces beside the stove
- Condiments and jars in the fridge or a deep corner cabinet
- Baking ingredients grouped on one spinner
Measure your shelf depth and height before buying — the most common mistake is a riser that’s too tall to fit or a turntable too wide for the door. A turntable also needs to clear the shelf above when it spins.
Step 5: Use clear containers and label them
Moving loose packets, half-torn bags, and bulk buys into clear, airtight containers does three things: it keeps food fresh, stops spills and pests, and lets you see at a glance when you’re running low. You don’t need a full matching set — start with the items that go stale or make a mess, like flour, sugar, rice, pasta, cereal, oats, and snacks.
A few practical tips:
- Rectangular containers fit shelves better than round ones and waste less space.
- Keep the cooking instructions. Cut them from the original package and drop the strip inside, or snap a photo on your phone before you recycle the box.
- Decant what helps, skip what doesn’t. There’s no point transferring something you use up in a week.
Label everything, even if it looks obvious — white flour and powdered sugar are hard to tell apart in a hurry. A simple labeling approach:
- Masking tape and a marker (cheap, easy to change)
- Removable sticker labels
- A label maker if you already own one
Write the item name, and if it’s something you don’t use often, add the date you filled it. For storing dry goods well, airtight is the key word: it slows staleness and keeps moisture and insects out.
Step 6: Tame deep cabinets with pull-out bins
Deep lower cabinets and pantries are where things go to be forgotten. The back two-thirds becomes a black hole. The fix is to stop reaching and start pulling.
Use open bins or baskets as drawers. Group similar items in each bin — one for snacks, one for pasta and grains, one for baking, one for backup cans — and pull the whole bin out to see what’s inside. When you’re done, slide it back. Choose bins with a handle or a cutout at the front so they’re easy to grab.
More ideas for deep and awkward storage:
- Tiered can organizers turn a deep shelf into a self-dispensing rack.
- Stackable bins use the full height of a tall pantry shelf.
- A bin on the floor of the pantry holds bulk items, drinks, or pet food.
- Over-the-door racks hold spices, wraps, or snacks on the inside of a pantry door — great in rentals since many hook over the door with no drilling.
If your whole kitchen is short on space, our small apartment storage ideas covers renter-friendly fixes beyond the cabinets.
Step 7: Put it back and do a test run
As you reload each shelf, follow your zones and keep the “front and center” rule for daily items. Leave a little breathing room — a cabinet packed to the edge is the one that gets messy fastest, because there’s nowhere to put things back.
Then cook or make a coffee. The real test of any system is using it. If you find yourself walking across the kitchen for something or restacking to reach a daily item, tweak the zone now while it’s fresh in your mind.
Keep it maintained (5 minutes a week, 30 minutes a season)
An organized kitchen drifts back to chaos without a little upkeep. The good news: maintenance is quick once the setup is done.
Every week (about 5 minutes):
- Put strays back in their zone when you unload the dishwasher or groceries
- Refill clear containers from bulk packs and recycle the empty boxes
- Wipe any new spills before they get sticky
When you shop: practice “first in, front out.” Move older stock to the front and put new purchases behind, so nothing expires in the back.
Every season (about 30 minutes):
- Do a quick expiry sweep of the pantry and spice shelf
- Re-donate anything you clearly aren’t using
- Wipe shelves and reset any zone that’s slipped
Building this into a routine keeps it painless. A weekly cleaning schedule can fold the 5-minute kitchen reset in with everything else, and if you’re juggling a lot, our realistic cleaning routine for working parents shows how to keep it small and steady.
A quick note on pantry pests
If you find moths, tiny beetles, or webbing in flour, grains, cereal, rice, or dried fruit, you have pantry pests. Act promptly:
- Throw out any infested or open dry goods in a sealed bag, outside.
- Empty the whole cabinet and vacuum the corners, cracks, and hinges.
- Wipe shelves with soapy water and let them dry fully.
- Store remaining dry goods in airtight containers going forward — pests chew through paper and thin plastic but not sealed hard containers.
Airtight storage is both the cure and the prevention. If an infestation keeps coming back after a thorough clean-out, call a pest control professional.
FAQ
How often should I reorganize my kitchen cabinets?
A full reset once or twice a year is plenty for most homes. Beyond that, a 5-minute weekly tidy and an “older stock to the front” habit when you shop will keep things from sliding back. You’ll only need a big overhaul again if you move, renovate, or your cooking habits change a lot.
Do I really need matching containers, or is that just for photos?
You don’t need them. Matching sets look tidy, but function matters more than looks. Clear and airtight are the two features worth paying for, because they keep food fresh and let you see what’s inside. Mixed containers you already own work just as well — label them and you’re done.
What’s the best way to store spices so I can actually find them?
Keep spices together in one spot near the stove, out of direct heat and sunlight, which fade them faster. A tiered riser or a turntable so you can read every label is the biggest upgrade. Label the lids if you store them in a drawer. Replace ground spices that have lost their smell — usually after 1 to 3 years.
Is it safe to eat food past the “best by” date?
Often, yes, for shelf-stable pantry items — “best by” and “best before” are about quality, not safety, so flavor and texture decline rather than the food becoming dangerous. “Use by” dates on perishables are the ones to respect. Always throw out cans that bulge, leak, or rust, and anything that smells off. When in doubt, throw it out.
How do I organize deep corner cabinets I can’t reach into?
Use turntables and pull-out bins so you bring items to you instead of reaching in. A large turntable in a corner lets you spin the back forward; grouped bins act like drawers you can pull out fully. Reserve those hard-to-reach corners for backup stock and rarely-used items, not things you need daily.